
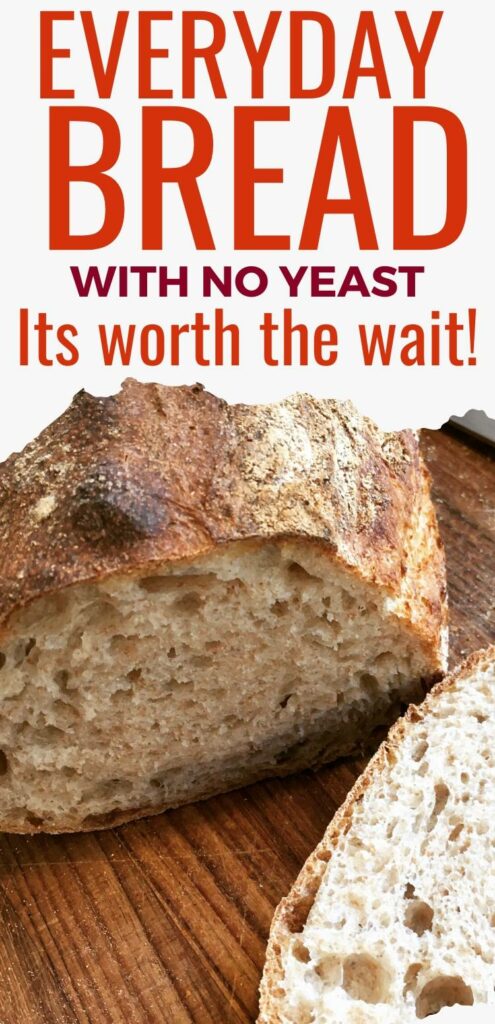
Are you looking for a simple recipe for everyday bread. One of those recipes that you can make again and again, and not get tired of. Maybe you want to find a bread that is ever evolving and ever growing with you.
You have come to the right place my friend. This is a high baking volume bread, that you can bake over and over, and you will need to go with the flow of how it will evolve over time.
The everyday bread is the bread that I bake when I know that we will have a lot of time at home, like holidays or winter periods where we are more indoors than what we can be in summer. This is a great dough to have handy, for baking without yeast, as it just keeps going. Spending a lot of time at home, often makes the kids more hungry, and I want to be able to serve them healthy bread all throughout the day. This is the perfect bread to suit that need.
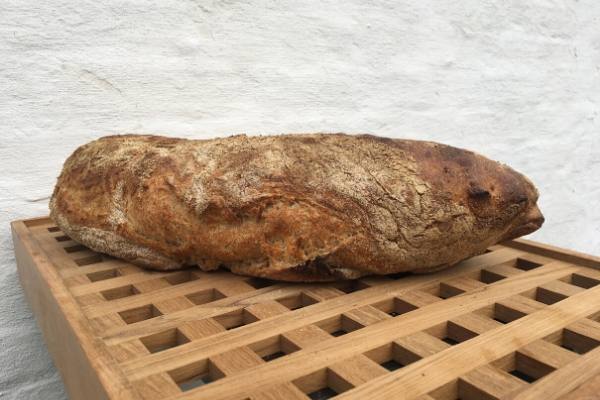
How to make simple everyday rustic bread
This bread take a little work to get it ready for the “forever bread” stage. But once you have the initial dough up and running you will be set for life – the only thing stopping you, would be you. It can be hard to keep up the with the amount of baking needed to make this bread, but every now and again I start it up and enjoy it for a few weeks before I leave it again.
How to make the starter dough for everyday bread:
This everyday bread is based on the principle that you grab a little of the dough every time you bake, to make tomorrows bread. To get you started you need to create the “starter dough”. This is a very simple dough, of water, flour, honey, and a tiny bit of yeast if you have it.
If you have a tiny bit of yeast, you will be ready to make bread in 2-3 days time.
If you don’t have any yeast at all, you will need 5-6 days before you are ready to make bread.
Both ways of baking will make you a fantastic bread once your starter dough is ready to use.
Once you have your starter dough ready, you mix in the rest of the ingredients, and leave it to raise for another 24 hours.
When you are ready to bake, you take your dough and use ⅓ of the dough to use as a starter and you make a bread of the last ⅔… You add the ingredients once again, and leave to raise 24 hours, and this will keep on going… forever… Or until you are so tired of this bread that you just want out.
What Do You Need To Make Everyday Rustic Bread
The everyday rustic bread is quite a basic bread – and it will be fantastic with any type of flour, just remember that the quality of the flour impacts the quality of the bread.
You will need:
- Flour
- Water
- Salt
- Honey
- very little yeast (optional)
- Pizza stone for the oven
- Spatula for the oven
- Kitchen mixer
I mentioned that this bread takes a few days to get ready. Its not one that you decide that you want it today. It takes a different kind of mindset than what it usually is to be baking. This bread recipe requires that you prepare the dough the day before you bake it. That way you need to think if you will need bread tomorrow, or not, when you prepare the dough.
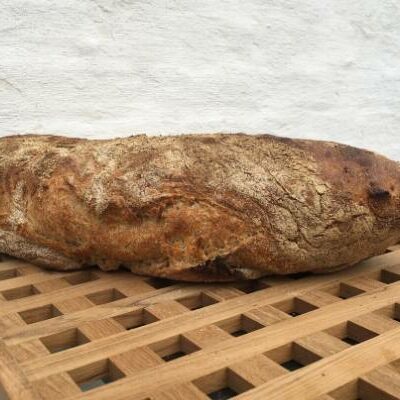
Everyday rustic bread
Equipment
- Kitchen stand mixer (optional)
- Measure
- Bowl
Ingredients
Starter dough with yeast
- 1 cup water
- 1/2 tsp Yeast
- 2 tsp unheated honey
- 1 cup wholemeal flour
Starter dough without yeast
- 1 cup water
- 1 cup wholemeal flour
- 2 tsp unheated honey
Dough
- 1 starter dough
- 2,5 cup water
- 4 cup Flour
- 3 tsp salt
Instructions
Day 1
- If you need to start a starter from scratch you need to mix all of the starter ingrediensces. NOTE: Its important that your honey has not been heated. This would kill all of the natural yeasts that are in there, and they are the ones we are looking to activate. Stir them together and leave them on your kitchen table for 2-3 days. This way they slowly develop into a great starter. If you dont have any yeast, leave them for 4-5 days
Day 3 (With yeast) OR day 5 (without yeast)
- Add your starter dough to a mixer. Add all the remaining ingrediences while stiring the mixer. Mix the dough for about 25 minutes, until you see the gluten strings in the dough. Leave the dough overnight to raise. This needs to be in a cold place, like your fridge, or similar.
Day 4 (with yeast) OR day 6 (without yeast)
- Add a bread stone to your oven. ad heat it slowly to the maximum capasity of the over (about 270C or about 500F)
- Take about 2/3 of your dough and leave it on a think layer of flour on your table.
- Fold the bread lightly over itself to create a bread shape.
- Turn down the oven to about 250c or 480F.
- Gently lift your dough onto the bread stone.
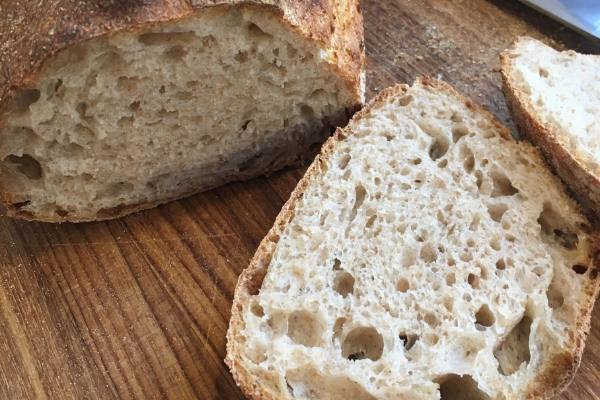
- Bake for 20-25 minutes, but keep an eye on it, as this can be very quick at these temperatures.
- Leave to cool for about 20 minutes.
Repeat
- Take the last 1/3 of dough and this now becomes your starter dough. Repeat day 3 to prepare tomorrows bread to keep on making bread day after day.
You need to play with this recipe to make sure that you adjust the size of the bread to your family. If this turns out to be slightly large, and you always end up throwing something away, consider making it a little smaller by not adding as many ingredients to the starter dough.
If you want to know more about this style of baking, this course from Victoria of A modern homestead is great.
How do you store the starter once you make the next batch? How quickly does it have to be used?
Thank you for your question. I make the next bread straight away with the starter. I don’t keep it, as it is not a sourdough as such. I make the bread as explained in the recipe and then I bake it within the next two days. Depending on how much bread we use (its more these days) this bread is great for keeping us with a steady flow of bread. I usually keep this up for a few weeks, but then we want to eat other bread. To end this recipe I simply just bake everything and make two loaves on the last day of the run. Then I start it from scratch if I want the bread again later. I hope this clarified it 🙂 Have a great day.